Showing posts with label bags. Show all posts

Tutorial: How to make a small children backpack

Hello, today we will show you how to make a very lovely backpack for your children. The original tutorial please visit this blog. Translated by Diytuco.

Take a look at this balo, very lovely!


Decorative Stitch Piping Frames Appliqué Pillow: Janome America from Sew for home


We're always thinking about new ways to use all the great decorative stitches available on our Janome machines. This pillow features them in a unique way that makes ordinary piping pop. You start with jumbo half inch piping, which requires a wide fabric strip as a wrap. This fabric strip becomes the base for two rows of bold decorative stitching. We used the full 9mm stitch width available on our Janome Skyline S5. When wrapped around the piping cord, these stitches create a striking embellishment that beautifully frames the entire pillow. 
The front of the pillow continues the decorative design, but more subtly. A delicate blanket stitch appliqués four triangle accents to the simple base patchwork. 
If you are new to either technique, we do have extended tutorials on both decorative stitching and appliqué. Check them out for tips and techniques that can help you get the most professional results. 
The stitching is the star of this pillow, so look for a trio of solid fabrics that blend well with one another but don't detract from the decorative thread work. One light and one dark tone works well for the simple front patchwork. The dark tone is then used for the envelope back. 
For the best look to the piping's decorative stitching, we recommend a darker fabric with light thread. On the front, to achieve the more muted look, use a thread about one shade deeper than the darkest of your two fabrics. 
Our piping fabric is cut on the bias then interfaced. This interfacing provides a bit of stabilization to the lightweight quilting weight cotton so the decorative stitching is as crisp and clean as possible. Yes, the interfacing does cancel out some of the benefit of the stretchy bias cut, but not all. There's still enough ease within the strip to allow a smooth curve around each corner of the pillow.
We recommend adding a layer of batting to both the front as well as the back for a super smooth finish.
Our pillow finishes at approximately 20" x 20", excluding the piping, which adds approximately 1" overallrr
Start reading the tutorial here. Via Sew for home

Mini owl bag


By this weekend, here's a little idea of the season to occupy little hands: I call the mini owl bag. Very quick to make, it may perfect for candy  

The tutorial via avecses10ptitsdoigts
Translate by Diytuco

To make this mini bag, you will need:

Templates ( you can find it at the end of this post)  - a printer - the thick white felt -  the black felt and brown medium thickness - a needled white thread - the thread black- a snap - a pair of scissors .

                                                              How to make:

Download and print the file with the templates. Cut out different forms: front, back, front, handle in white, black beak and pupils, brown eyes. Start sewing with the white front and back together , leaving the seamless upper. Turn the whole. Add the front as shown in the following picture and turn the handle in the stitching on the inside. Place the two parts of the snap and sew. Add eyes and nose using black thread. The bag is mounted. A bellows effect, tuck the side seams.


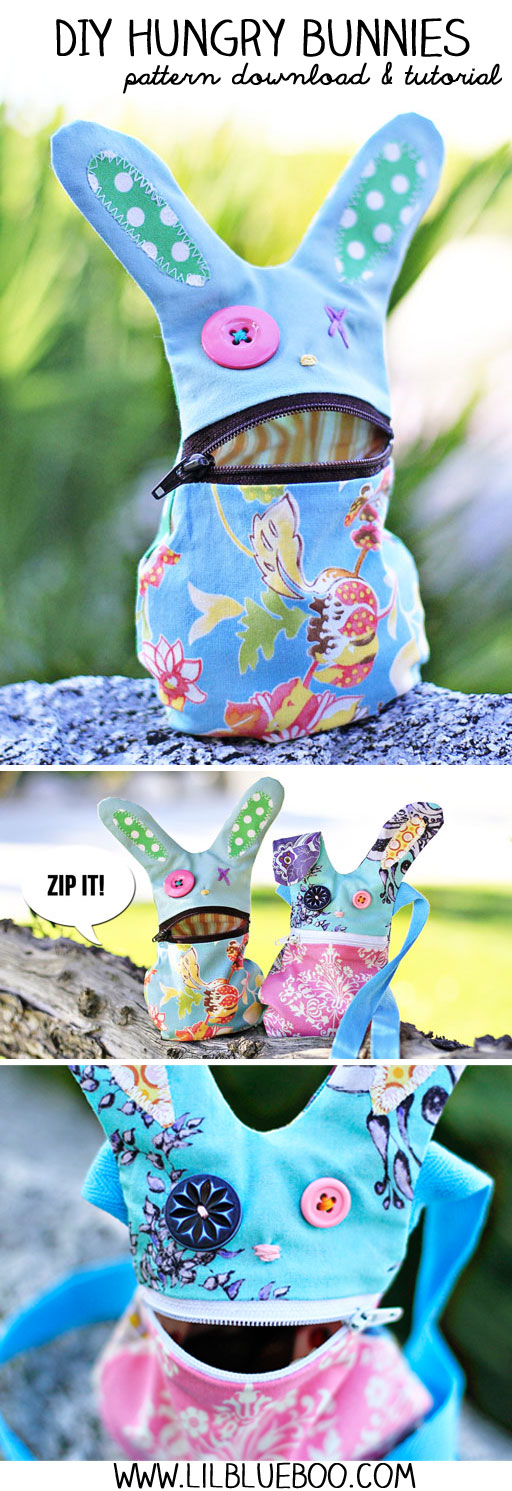
THE HUNGRY BUNNY DOWNLOAD AND TUTORIAL

The Hungry Bunny Download and Tutorial

 Source: http://www.lilblueboo.com/2013/03/the-hungry-bunny-download-and-tutorial.html

DIY Hungry Bunny Tutorial and Pattern Download via lilblueboo.com #easter #diy #bunny #pattern

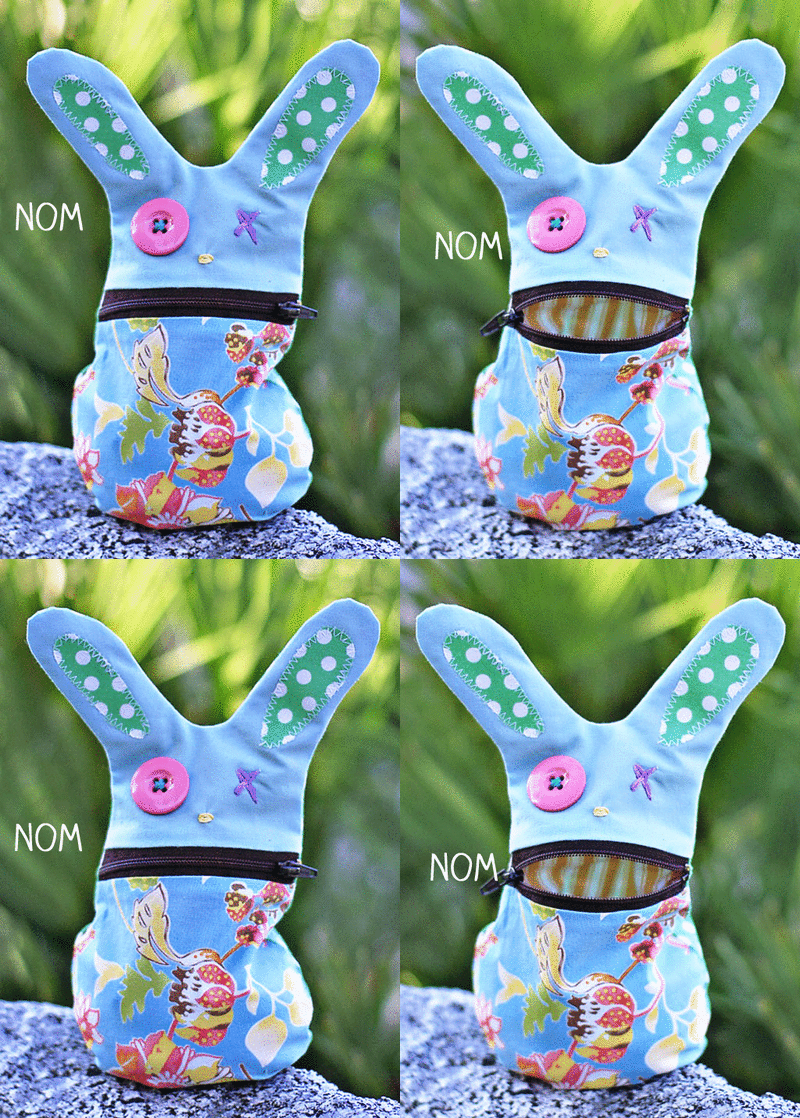
Last year was the Sock Bunny…..this year is the Hungry Bunny! Isn’t he cute?
Hungry Bunny PDF Pattern nom nom via lilblueboo.com
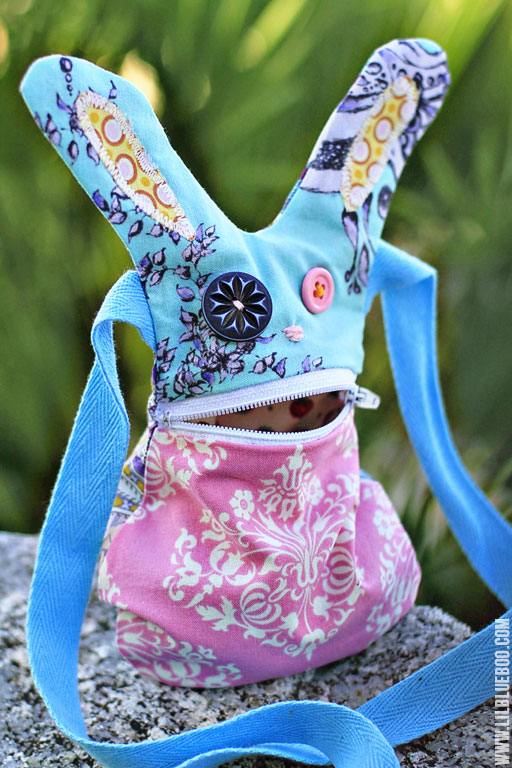
I made one as just a little sack to put little treasures in and the other as a purse for Boo:
Make a DIY Bunny Purse via lilblueboo.com
How to make your own:
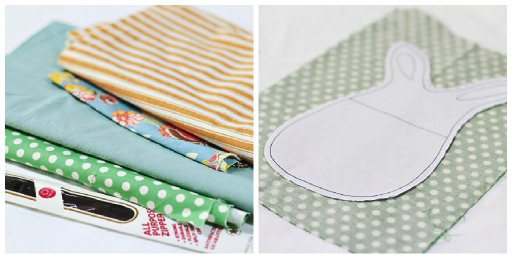
1. Print off the pattern at the bottom of this post. You’ll need some fabric scraps and any size zipper. Cut 2 sets of 2 using the pattern and cutting the fabric right sides together. You’ll have 2 pieces for the lining and 2 for the outer bunny.


2. Take one piece of the lining, and one outer bunny and make sure they match up when placed right sides together (i.e. they should be opposite). Cut using the “mouth” line on the pattern. You can also use the “mouth” line to create mismatched bunnies.


how to sew a nook or kindle case {tutorial}

how to sew a nook or kindle case {tutorial}

Source :  http://littlebirdiesecrets.blogspot.com/2011/02/how-to-sew-nook-or-kindle-case-tutorial.html 

I sent this Nook case (and the crocheted one for my dad) off for Valentine's, so I can finally show you how I sewed this cute zipper case for my mom's Nook (my mom reads this blog, but I'm pretty sure my dad doesn't, so I wasn't too worried about ruining the surprise). Now my mom can throw her Nook in her purse without worrying about it getting scratched!

I used Stacy's brilliant tutorial for how to make a wet bag (you know, for wet swimming suits, dirty cloth diapers, etc.) and modified the materials a little. If you haven't already, you should try that project, too. I use it all the time to make travel toiletry bags for gifts and snack bags for the kids! They're a great way to use up the fat quarters you've been collecting. . .


Nook or Kindle Soft Zipper Case Tutorial


Supplies:
*Cotton fabric for outer case (I found this Heidi Grace fabric on sale at JoAnn!)
*Soft fabric or cotton for inner case (I used minky)
*Zipper (at least 9" long)
*Iron-on stabilizer/interfacing (I used Pellon's Val-U-Fus)
*Sewing machine and coordinating thread
*Buttons or extra fabric for embellishments


ELEGANT WRISTLET CLUTCH PATTERN + TUTORIAL

ELEGANT WRISTLET CLUTCH PATTERN + TUTORIAL


X
Accessories truly can make an outfit, and this simple clutch-style handbag is no exception. This wristlet clutch handbag can easily be completed in the span of an afternoon, and it is the perfect way to use up scraps of fabric you might have on hand. When you see how easily these come together, you’ll want to using this free purse sewing pattern to make a clutch to coordinate with every outfit! Let me show you how it’s done.
For this project, you will need…
  • Elegant Wristlet Clutch Pattern Pieces (free download)
  • Fabric in two coordinating patterns (fat quarters or fabric scraps work great)
  • Fusible fleece
  • Coordinating thread
  • Washable ink marker
  • Nylon cording or narrow ribbon
  • Snaps and snap-setting tool
  • Short necklace, for the wristlet (I used a necklace bottom from the Noir line from Styled by Tori Spelling)
  • Decorative brooch (mine is from Styled by Tori Spelling)
  • Basic sewing supplies: machine, shears, etc.

How to sew a bag for one night


How to sew a bag for one night


How to sew a bag for one night

Sew a bag in one evening? Nothing is easier, because this is a very simple model, and it will be available even for beginners. You can make this cute and very convenient bag very quickly. Decided advantage in that it folded it takes half the size of album sheet. It is very convenient to take with you, for example, on a trip when you need somewhere to lay down their garments, ie use it instead of packets. Well, or just for going to the supermarket))
We will need:
A piece of fabric about the size of 75 * 150cm
Zipper length 65cm
TIP:  Use plaschevka or cotton cloth, then folded bag will not take up much space.