DIY Paper Flowers {without a die cutting machine}
DIY Paper Flowers {without a die cutting machine}
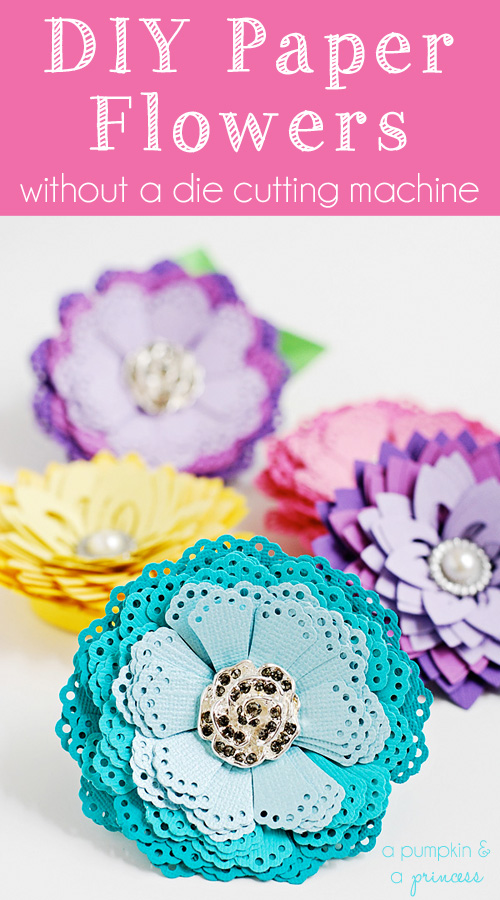
With Mother’s Day quickly approaching it’s time to start thinking about gifts and ideas for the special mother’s in your life. Today I’m going to show you how easy it is to make paper flowers without a die cutting machine. It’s no secret that I enjoy using my die cutting machines, but I still like using punches just as much as I used to! These flowers are made with a punch, layered to create an ombre effect, and finished with a button in the center. You can use the paper flowers in a bouquet, centerpiece for your Mother’s Day brunch, or to wear as a boutonniere.
Link to read : http://apumpkinandaprincess.com/2013/04/diy-paper-flowers-without-a-die-cutting-machine.html
DIY paper flowers without a die cutting machine
paper
punches in various styles
button
tape runner
hot glue

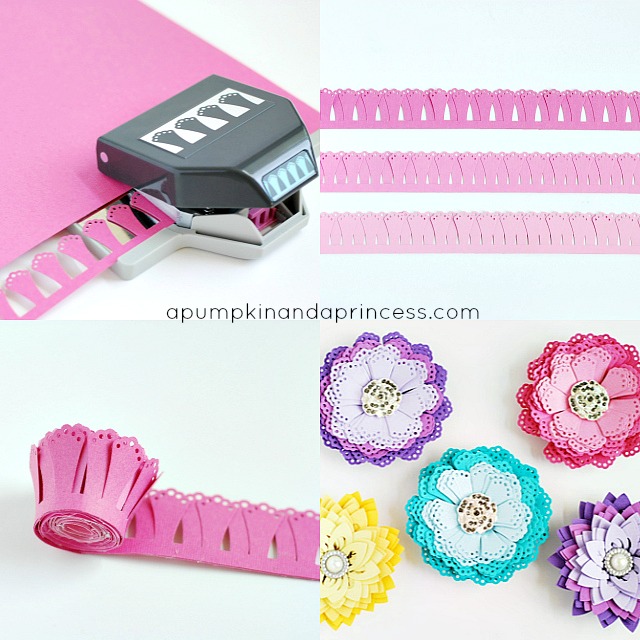
Step one: Punch two strips of paper for each color (each flower has six strips of paper total). The lighter the paper the easier it is to repeatedly punch, but unfortunately also makes a flimsier flower. I used heavy cardstock for my flowers.
Step two: Slightly overlap one strip on top of the other for each color. I used a tape runner to glue them together.
Step three: Using a low-temp hot glue gun glue the first strip in a circular pattern. Keep wrapping the paper around, gluing every couple of inches. Then repeat with the next two strips, starting where the previous strip ended.
Step four: Glue a button in the center, the more it sparkles the better. :)
Step five (optional): hand cut leaves and glue to the back of the flower. Glue a felt circle onto the flower and add a pin on top.


1 nhận xét: