
Sew "8 kitaychat cheerful" Pincushion
Sew "8 kitaychat cheerful" Pincushion
In China, the number "8" is considered to bring good luck and prosperity, and it is the respect of perseverance and persistence of Chinese women and working women at all outside China
Once upon a time, in the bearded times on the mug needlework teacher, who lived several years in China, he has taught us to sew traditional Chinese needle bar.
I propose to you with the children to portray this simple to perform and very useful in saving money.
I took a simple fabric to make it, and imagine a masterpiece for a gift, you can create pieces of printed silk or velvet.
This needle bar is always visible, and always will be to improve mood and combat disabled!
Translate: Diytuco Blog
Via: livemaster.ru

So, we start ....
We need:
8 rectangles fabric , size of 6.5 cm x 8,5cm to make the doll body
8 circles with a diameter of 5 cm from knitwear (not knitted head will be smaller).
Cotton for stuffing.
The wheel parts: 2 wheel diameter 11cm., 1 bar measuring 37cm x 7cm.
Woolen yarn, sewing remnants, medical clamp-forceps.
One bead.
Color thread.


1. Take our body pieces and mark at the middle.

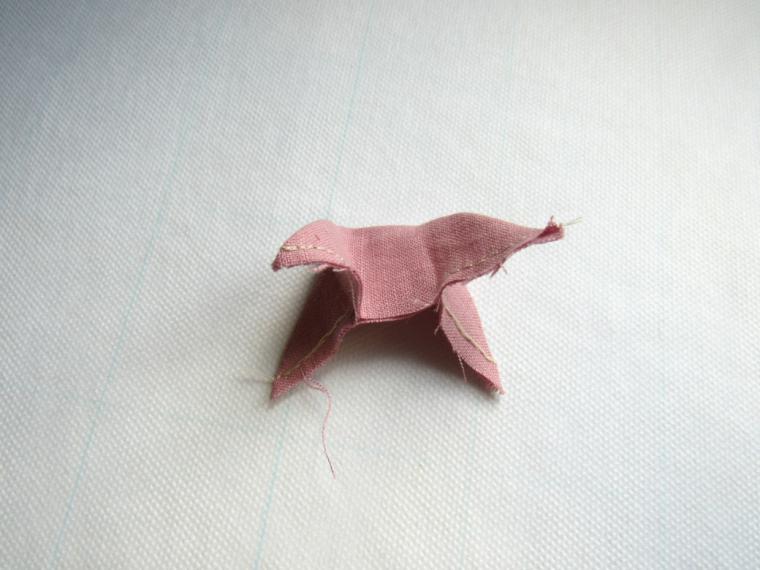
2. Fold the edge and sew it , do as the same for the other edge. Follow the photos below
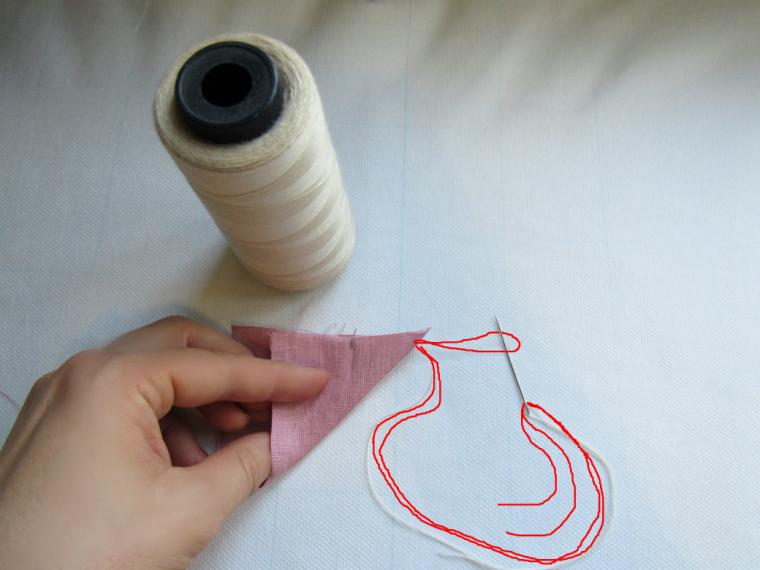


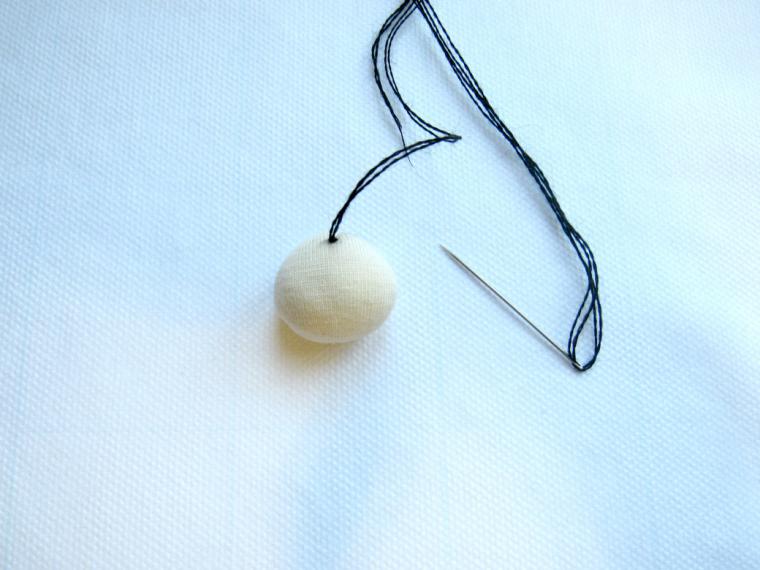
4. Sew a circle around the edge. I love to do simple assembly for any balls and pom-poms, as in contrast to the assembly over the edge, then it is easier to hide the edges of the inside, especially if the fabric fray.


11. Make all 8 dolls

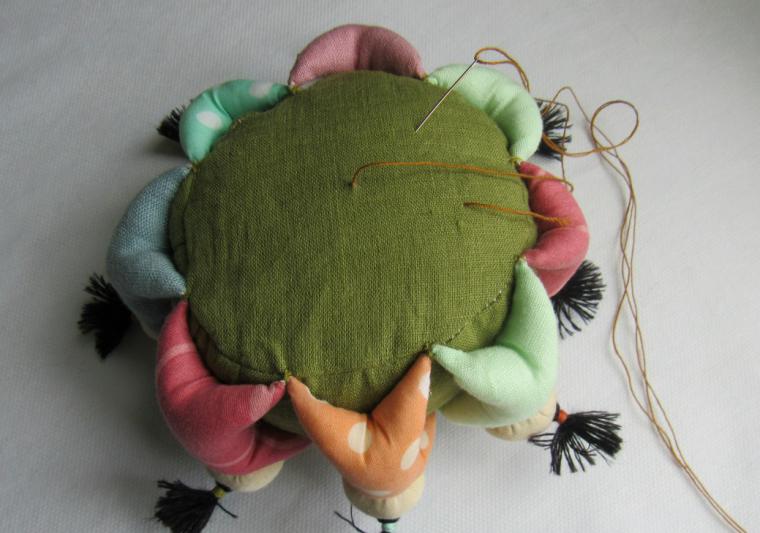
12. Sew arms and legs, close in a friendly circle ..


14. Planting for the kids' table. Mix the color of the doll. Important: The circle should be done symmetrically to each child, to avoid warping.


15. We turn the pincushion. Take a strong thread to decorate the pincushion. Pierces and extends through the thread, put on a bead, tightening, fasten. Next, stretch yarn and how to "hug" the center of the top of the center of the bottom and tie.


Our pincushion is ready!


Thank you so much
ReplyDeletehermoso. siempre quise aprender a hacerlo. mil y mil gracias
ReplyDelete